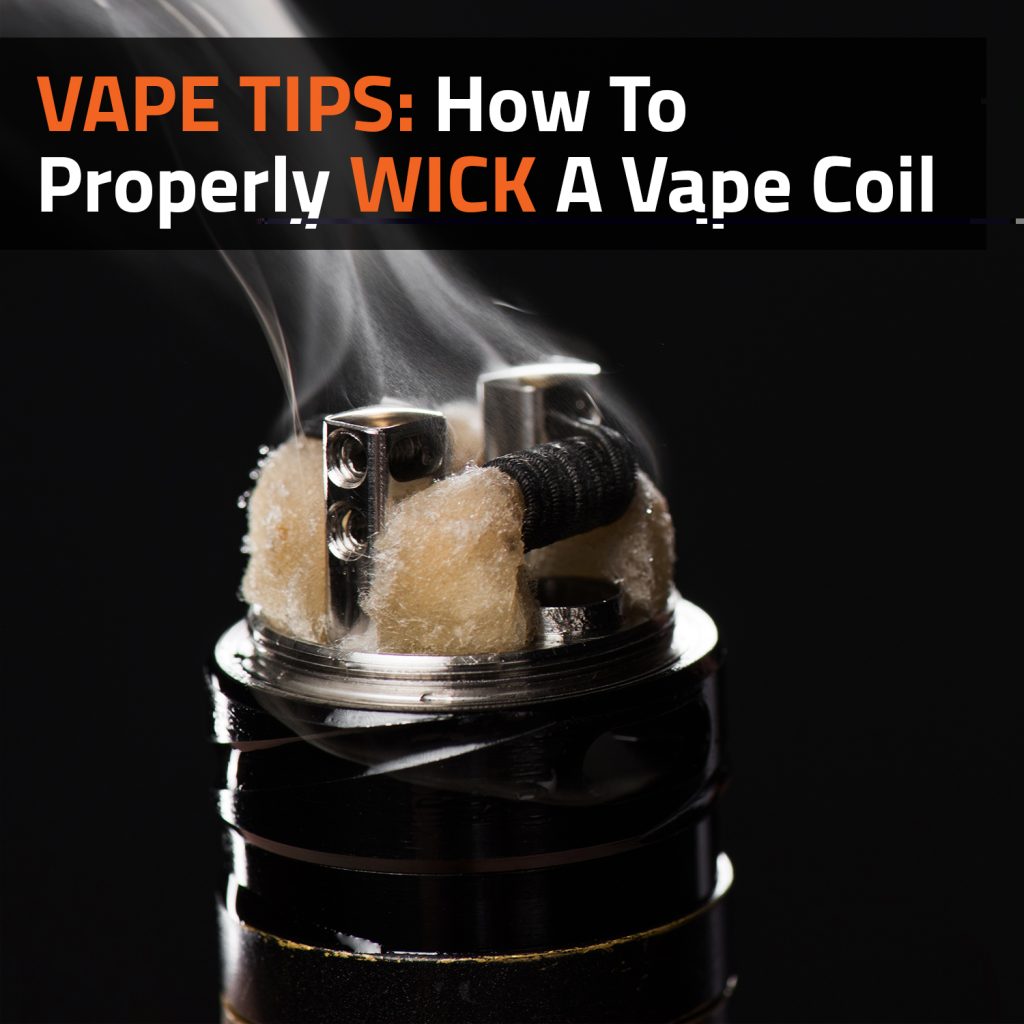
Although coil wicking is not as complex as actually building a coil, it is still an important part of the process that will ensure optimal flavour, avoid burnt or dry hits, and provide a great vaping experience. Properly wicking a coil can be seen as somewhat of an art, and there is definitely a right and wrong way to do it. Allow us to educate you on all you need to know about wicking coils to provide you with an optimal vaping experience that is sure to satisfy your needs.
What Supplies Do I Need For Coil Wicking?
Before you start wicking your coils, you will need to get a few supplies ready. First of all, you will need a Rebuildable Dripping Atomiser (RDA) or Rebuildable Tank Atomiser (RTA). Make sure that your coils are already installed in your atomiser so you do not risk bending them during the wicking process. Other tools you will need include:
- Scissors
- Small tweezers
- Wicking material (such as cotton)
- E-liquid
Which Wicking Materials Can I Use?
There are a few different types of wicking materials, and they all essentially work in a similar fashion – they hold all your e-liquid so it can be vaporised by your heated coil. The most common wicking materials include:
- Organic cotton: Organic cotton has been the standard wicking material in the vaping industry for a very long time. It is easy to work with, inexpensive, and very efficient at holding e-liquid. It also does not change the taste of your e-liquid, so you will be able to enjoy the pure flavour experience. Make sure that the cotton you use is organic as non-organic cotton is chemically treated with chemicals, making it unsuitable for vaping purposes. The wicking cotton you will find in reputable vape stores is either highly processed and free from contaminants, or fully organic cotton from Japan.
- Silica: Silica cords look like tiny white ropes, and they are another popular material that can be used in wicking. They are not as absorbent as cotton wicking materials are, but they do have a much longer lifespan. This is due to the fact that they are thicker, more robust, and do not burn as quickly as cotton.
- Rayon fibre: Rayon fibre is a synthetic material that is also very similar to cotton. An added bonus is that it does not burn at high temperatures. Many people also prefer the fact that you cannot really taste rayon fibre like you might be able to taste cotton, and it is usually quite cheap.

Cotton Bacon Prime
R120.00
Hellvape Shoelace Organic Cotton
R110.00
Step By Step Guide: How To Wick A Coil
Once you have chosen your wicking material (remember organic cotton is the best option for beginners as it is easy to work with), it is time to start the wicking process. Grab your RDA/RTA and follow these steps:
- Cut out a piece of your wicking material in relation to the diameter of your coil. You can usually determine this by checking the website you bought your coil materials from or even by measuring it. Most coils have a diameter of about 3 mm, so cut out a 3mm wide strip of wicking material with your scissors.
- The next step is to cut the wicking material length wise. Fold your strip down the middle and use your scissors to cut it in half. You should now have two pieces that are the same length.
- Now, you need to put your wicking material through the coil. Pinch and roll one side of your strips until it is really thin and small. Use this thin, small end and push it through one of the coils until it comes out through the other side. Be sure to pull on it until both sides of the wicking material are even.
- You will need to measure each end of the wicking material again to make sure that it will reach the well in your RDA. Use your scissors to gently push down one side of the wicking material and trim the end. Do the same for the other side at the same length.
- Fluff out both ends of your wicking material so it can soak up all the e-liquid properly. Rub it gently between your fingers until you can see the material start to spread out more. Then, push them up towards the coil a few times.
- Repeat this process for the other coil in your device if applicable.
- Next, you have to saturate your coils and the ends of your wicking material in e-liquid. Make sure you get lots of e-liquid in the middle and inside of your coils as this will prevent you from experiencing an overtly cotton flavour (if that is your chosen material). The ends should no longer appear dry either – make sure everything is soaked well.
- Let the e-liquid soak for a minute and repeat the process a few more times, letting the liquid soak in between each time. This is just good practice as it takes a while for the e-liquid to soak into the coils and wicking material. You will know that your coil is ready when the e-liquid stops soaking in.
- Once your e-liquid has soaked in and your coil is fully saturated, you can use your tweezers to hold on to the wicking material’s ends and push them inside the well. Once your wicking material is set up inside the well, check for any dry spots that might need some extra e-liquid. These spots are usually closer to the ends of your wicking material as the centre should be fully wicked by now.
- Apply one last round of e-liquid to really avoid a burnt hit. Make sure it is coated thickly and completely.
- Reassemble your tank and start to puff on your brand new fully wicked and primed coil! You should experience a flavourful first puff with great vapour production.
With this step by step guide, you should be able to properly wick and prime your vape coil with no problem. It is really quite easy once you get the hang of it, just make sure you use enough e-liquid to soak your coils and wicking materials thoroughly. Remember to change out your wicking materials once you notice a discoloration or a change in flavour.

SMOK Nord Coil
R70.00
Vaporesso GTX Coil
R70.00-
Vaporesso GT Coil
R35.00 – R70.00 
SMOK RPM40 Coil
R70.00