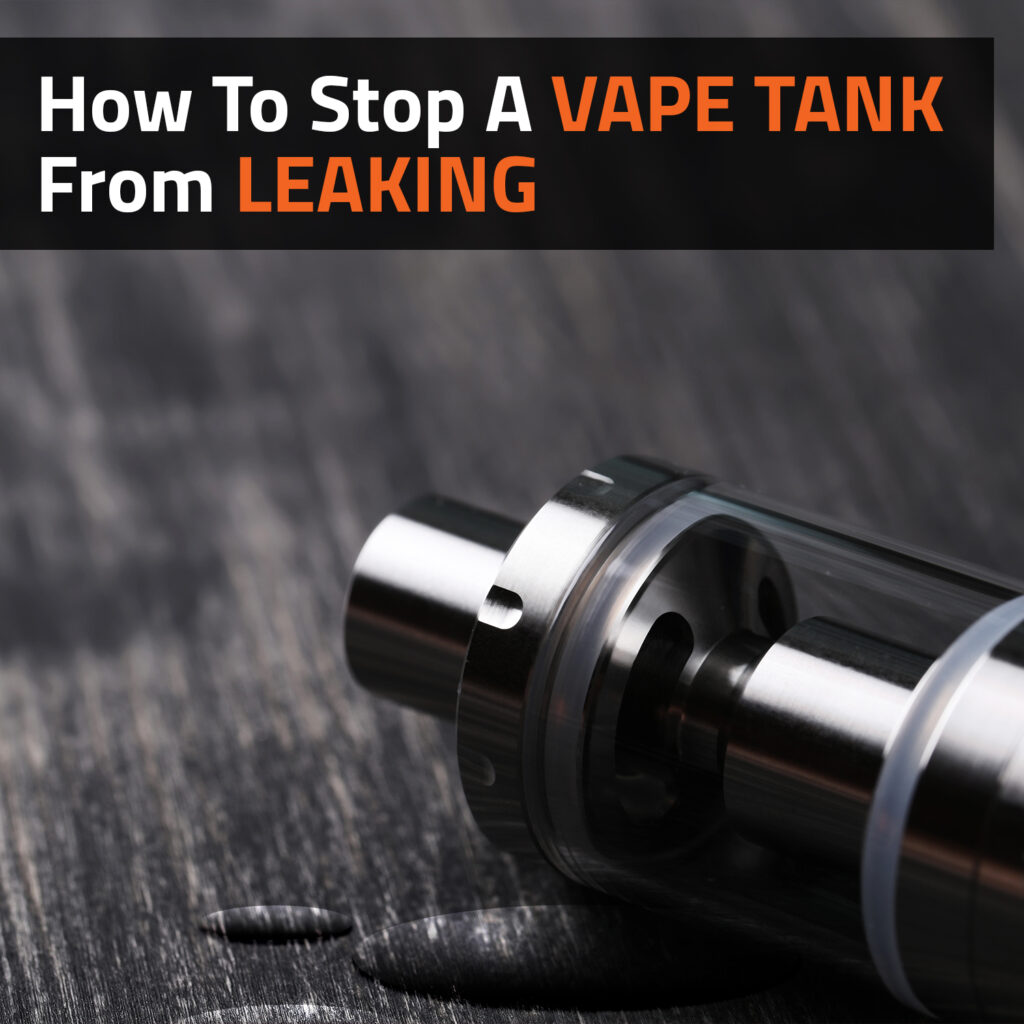
If you have ever struggled with a leaky vape tank, you are most certainly not alone. Although many manufacturers focus on making their tanks fully sealed and leak-proof, occasional leakages and malfunctions are still quite common. Usually, these issues can be addressed before they cause damage to your device. More often than not, you simply need to adjust one or two small things. Keep reading to find out how you can fix a leaky tank and get back to enjoying your vaping experience.
Why Is My Device Leaking?
There are a few reasons why your device might be leaking, ranging from the more uncommon factory faults to not closing the tank properly after a refill. In a normal case, e-liquid moves through your device’s airflow system and gets heated by the atomiser to produce vapour. Leaks can occur when the process does not happen efficiently/properly. There are a few things you can do to stop your vape tank from leaking as well as some measures you can take to prevent tank leakage in the first place.
Tips To Stop A Vape Tank From Leaking
Although there is no way to avoid tank leakage problems forever, these tips will help you to spend as little time as possible on leaky tanks and their messy aftermath:
- Do not overfill the tank
- Remove excess e-liquid from the chimney
- Tighten the seals
- Keep your tank upright
- Replace damaged and worn out o-rings
- Look for hairline cracks
- Inspect your coil heads
- Wick your coils properly
- Adjust the airflow
- Use the right e-liquids
Do Not Overfill The Tank
Overfilling your tank is the number one reason for leaks. You should leave a small space open in your tank to allow airflow when the atomiser is heated, which will prevent your e-liquid from spilling over the top of your tank. You should also refill your tank slowly so you can keep an eye on how much you are adding to avoid flooding it.
Remove Excess E-Liquid From The Chimney
Vape tanks can only work well by upholding the tank’s delicate air pressure balance and central airflow control system. The chimney of your tank goes all the way to the drip tip and is responsible for controlling airflow. It is not uncommon for e-liquid to get trapped inside the chimney by mistake, which can cause your tank to leak or make gurgling sounds. If this happens, you can roll up a small piece of paper towel and slide it down the tube to absorb the excess e-liquid before vaping.
Tighten The Seals
You have likely checked this if your tank is leaking, but just make sure all your seals and components are closed up properly. E-liquid can escape through the smallest openings, and refilling or reassembling your device in a hurry can easily lead to some gaps being left.
Keep Your Tank Upright
Although most modern vape tanks have leak-proof designs, it is best not to leave tanks on their sides for too long. Doing this for extended periods will cause e-liquid to start seeping through the small airflow holes. Try to keep your vape tank upright for the most part, especially if you are not going to be using it for a while.
Replace Damaged And Worn Out O-Rings
Big issues in vaping hardware can be caused by the smallest and cheapest components. Look at the condition of your o-rings when you clean your tank or switch your coils. These small pieces of rubber can cause leakages when they get worn out and damaged. Luckily, o-rings are cheap and most kits/tanks come with an extra set.
Look For Hairline Cracks
A very thin hairline crack in your tank means it is no longer airtight, compromising pressure and allowing e-liquid to leak out. You will need to purchase a new tank if this is the case as the issue will only get worse.
Inspect Your Coil Heads
Like with all mass produced products, vape tanks and their components might come with some factory faults. There might be some issues in your coils that are preventing them from heating up your e-liquid properly, causing your tank to leak. Check that your coil head is screwed on tight enough, and if the issue persists, replace the coil head with one from a different batch.
Wick Your Coils Properly
Wicking your coils is an essential step to ensure the most optimal vaping experience possible. If you do not use enough cotton when building your coil, you will increase your chances of a leaky tank. You should also wait long enough for the cotton to absorb the e-liquid fully before vaping to ensure a smooth experience. Fill your tank with e-liquid and let it stand for about five minutes before taking a hit.
Adjust The Airflow
Make sure that all the airflow holes are fully closed when refilling your tank with e-liquid. Adjust the airflow to your liking once wicked and be sure to make your first few puffs slow and gentle. If you inhale too forcefully, you will get a burst of e-liquid into the atomiser all at once, causing the vape juice to leak out.
Use The Right E-Liquids
The type of e-liquid you use is an important factor with certain devices, especially those with higher power capabilities. If your coils use a lot of power, e-liquids with a VG concentration below 70% are more likely to cause leakages. This is because your e-liquid stands a higher chance of rushing through the atomiser without vaporising completely.
A leaky tank does not necessarily mean you need to replace a bunch of components all at once; simply go through our list, pinpoint your issue, and follow the simple solution. Sealing your tank properly after refilling and cleaning your device and using the right type of products/settings is a good way to prevent tank leakages. If you do experience leakages, make sure the tank is not overfilled, the chimney is clear, the seals are tightened, the coils work properly, and you are using the right airflow settings before you think about replacing your tank.
-
 Uwell Crown 5 TankR395.00
 -
 Hellvape Dead Rabbit R TankR485.00
 -
 Hellvape Fat Rabbit Subohm TankR475.00
 -
Sale Product on sale
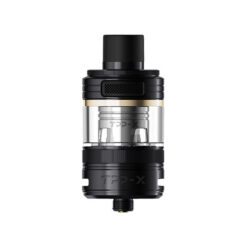 Voopoo TPP X Pod Tank
R340.00Original price was: R340.00.R170.00Current price is: R170.00.


