Table of contents
Every year vaping becomes more prevalent in our society. In 2018, the World Health Organization (WHO) estimated that there were 41 million vape users worldwide and by 2021 the number was expected to rise to 55 million. Nearly 1% of the world population are vapers and with a number that large, naturally a culture will develop. A huge part of vape culture is building coils!
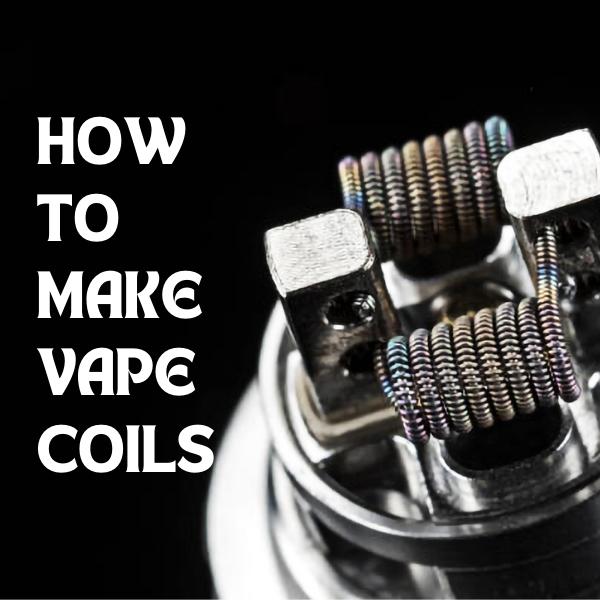
Every group has a coil-building savant and if your group doesn’t have one, this is your chance to rise to savant status. Building coils can be a fun hobby if you have the time and the patience for it. We decided to put together a building guide for people who want to be in the driver’s seat of their vape experience by building their own coils.
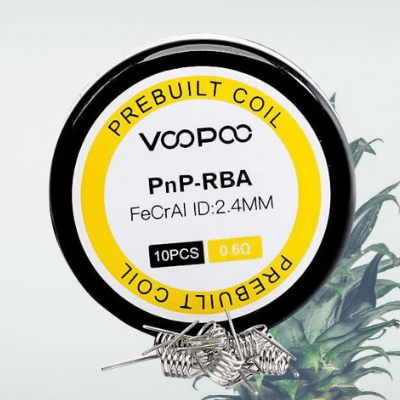
Pre-built Vape Coils

It is important to know how vape coils work. But first let’s get the lingo out of the way, vape coil; atomizers or atomizer heads are used interchangeably. The vape coil is what heats up your vape juice to form vapour. Vape devices come with this built-in, but over time you have to regularly clean and eventually replace them.
You can buy coils in a pack and replace them when needed. This is what a lot of people do in the beginning. After some time you might want to start playing around with making your own coils to customize your experience.
| Reasons to buy pre-built coils: | Reasons to build your own coils: |
| Easy and not time-consuming | Making your own coil comes with a sense of pride |
| Reasonably priced | Cheaper to make than to buy |
| Vape brands know what they are doing | You control how your device works |
| If you find one that works for you, keep buying it | You customizable your overall experience |
How Do Vape Coils Work?
Let’s go back to high school physics. Vape coils are governed by the infamous Ohm’s law, which states that an electric current is proportional to voltage and inversely proportional to resistance.
Current, voltage, and resistance are the underlying principles that form the perfect vaping experience. You have to play around with all three variables to produce an experience that is just right for you.
- Ohm’s law: states that an electric current is proportional to voltage and inversely proportional to resistance
- Resistance: is a measure of opposition to the flow of electric current. Low resistance means high current
- Voltage: the difference in electric potential energy between two points
- Current: is the rate at which electrons flow through the coil
How your coil works will be determined by the type of material you use for your coil, its diameter, and the type of battery you have. The coil resistance will determine the amount of power drawn from the battery. Low resistance draws a large amount of power from the battery and can cause the battery to explode. This is why you must understand the type of coil you use and its implications.
Common types of coil wires and how do they differ?

Vape coils can be made out of 5 different types of material. Which material is the best depends on preference? Each type of material has its own merit and you should try using all of them so you can decide which one you like the most.
- Kanthal
- Stainless steel
- Nichrome
- Nickel
- Titanium
For more information on pre-built coils and vape wires click this link.
What You Need To Start Building
Building your own vape coils is a complex endeavor and it isn’t something you decide to do on a whim. You need to be prepared for the amount of work that’s ahead of you. This is not only limited to being patient but also to have the right tools. There are tons of coil building kits available, it is advised that you buy one if you intend on taking this hobby seriously and making excellent coils.
Below is a list of items you need to start your journey:
- Coil building kit (includes):
- Organic cotton
- Pliers
- Flush cutter
- Cotton tweezers
- Standard tweezers
- Screwdrivers
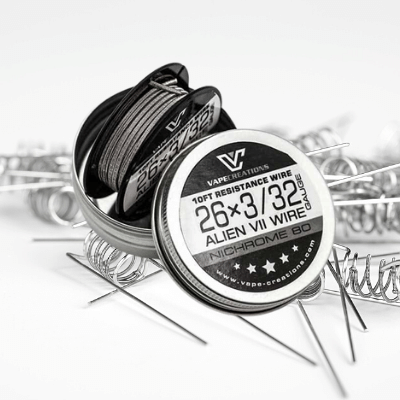
- Resistance wire (vape wire)
- Foldable scissors
- Tri-Allen key tool
- Coil jig set (rolls coil into the desired diameter size)
- Ohm reader
- Vape wire (this is included in the kit but you will need more for the future)
- Time and patience
Safety Precautions Before You Start

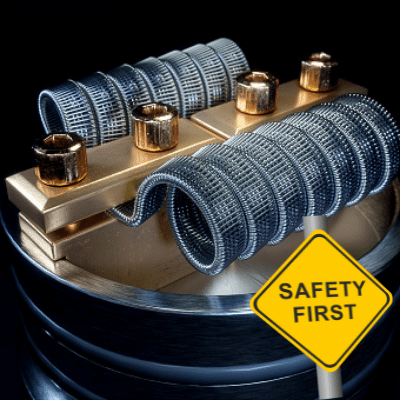
The best safety advice is to use the right tools. Remember that you are working with electricity and sharp tools. Keep your workspace clear and organized. Always test your coil using the ohm reader before you put it in your device, failure to do this can lead to consequences that range anywhere from not having a good vape to your battery exploding – so be careful.
Step-By-Step Guide To Make Your Own Vape Coil:
If you are using a coil building kit:
- Cut a piece of wire approximately 10-15cm long and heat it slightly
- Detach the coil jig cap
- Thread a small piece of the wire through the hole on the jig and hold it down with your thumb
- Choose your desired diameter size and slide it down the rod of the coil jig
- Start twisting the jig while maintaining a firm pressure to ensure the loops are nice and tight together but NOT overlapping
- Keep twisting until you have your desired number of loops
- Straighten the ends of the wire so that they line up with each other and point in the same direction
- Loosen the screws on the build deck and hold the coil jig with the coil attached above it
- Place one end of the coil in the positive end and the other in the negative end
- Tighten the screws on the build deck to hold the coil in place and slide the coil jig out
- Screw the build deck onto the ohm reader
- Using the flush cutter, cut any excess wiring that is sticking out of the build deck
- Switch on the ohm reader and measure the resistance (keep your resistance within 0.2ohms of what you want)
- On a low wattage start pulse firing the coil until the coil starts to glow orange
- Using non-metal tweezers apply pressure to the sides of the coil
- Repeat steps 14 & 15 until the coil starts glowing evenly from the inside out
- Now it’s time to wick the build, slide the cotton through one side of the coil to the other
- Using tweezers, gently push the wick into the juice well. Do not push it underneath the coil as this will hamper airflow to coil
- Check the resistance on the ohm reader again
- If you are happy you can move on to the next step. If not, work backward until you fix the problem
- Wet your wick with some vape juice and slightly pulse fire the coil to get rid of the new cotton taste
- Detach the building deck from the ohm reader and reattach it to your vape device and enjoy
If you are using a screwdriver:
- Cut a piece of wire approximately 10-15cm long in length, and heat it slightly
- Start wrapping the wire around the rod of a small screwdriver
- Make sure that you are wrapping the wire tightly. A strong tension will help keep the coil tight and firm
- Make sure to not overlap the loops
- Keep wrapping until you have the desired number of wire loops
- Ensure both ends of the wire are pointing in the same direction
- Loosen the screws on the build deck and hold the screwdriver with the coil attached above it
- Place one end of the coil in the positive end and the other in the negative end
- Tighten the screws of the build deck to hold the coil in place and slide the screwdriver out
- Screw the build deck onto the ohm reader
- Using the flush cutter, cut any excess wiring that is sticking out of the build deck
- Switch on the ohm reader and measure the resistance (keep the resistance within 0.2ohms of what you want)
- On a low wattage start pulse firing the coil until the coil starts to glow orange
- Using non-metal tweezers apply pressure to the sides of the coil
- Repeat steps 13 & 14 until the coil starts glowing evenly from the inside out
- Now it’s time to wick the build, slide the cotton through one side of the coil to the other
- Using tweezers, gently push the wick into the juice well. Do not push it underneath the coil as this will hamper airflow to coil
- Check the resistance on the ohm reader again
- If you are happy you can move on to the next step. If not, work backward until you fix the problem
- Wet your wick with some vape juice and slightly pulse fire the coil to get rid of the new cotton taste
- Detach the building deck from the ohm reader and reattach it to your vape device and enjoy
Building your own coils is an investment, but once you start there’ll be no turning back. The amount of pride that you’ll feel after making your first one will have you hooked. You will never buy a pre-built coil once you have experienced the joy of making something with your hands, that works the way you want it to.
To see more products at great prices visit Vaperite, and Vapeshop South Africa’s leading vape shop and cannabis paraphernalia outlet chain.


